- Shop Resources
- >
- Inference Carousel: Making Inferences with Pictures and Captions
Inference Carousel: Making Inferences with Pictures and Captions
SKU:
$5.00
$5.00
Unavailable
per item
32 pages
Activity Includes:
- Teacher Instructions
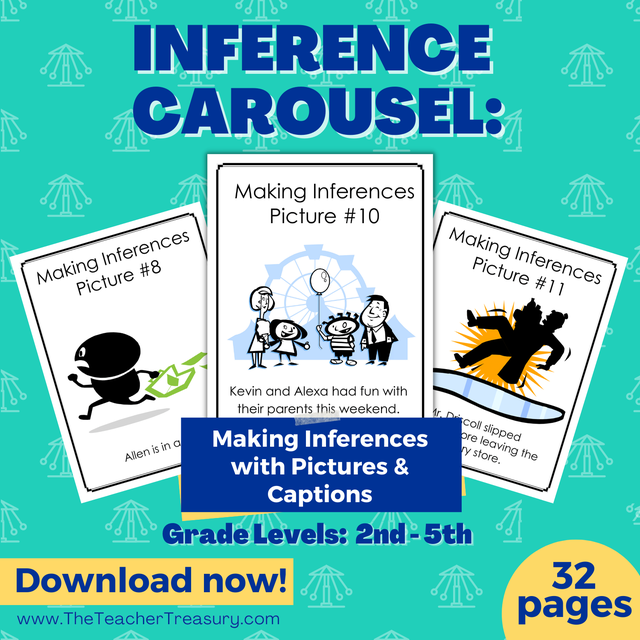
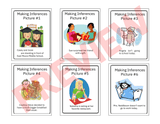
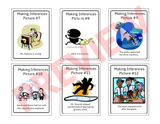
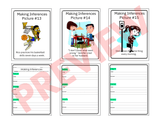
- 15 Images and Captions
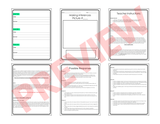
- Response Handouts for Lessons
- List of Possible Responses
- Additional Inference Carousel Activity
- Template for Student Inference Pictures
Materials Needed:
STEP 1:
Before the students enter the class, post the 15 pictures clockwise around the room in numerical order. I would recommend being creative with where you are placing the pictures. Don’t make it TOO easy for the students to find them. Place some on the floor, windows, behind doors, on the sides of shelves, etc. I would also suggest placing a sheet of colored construction paper on the back of each picture so that it will stand out from the other papers you have throughout the classroom.
STEP 2:
When it’s time to begin the lesson, inform your students that you have posted several pictures throughout the room and explain that their job is to review each photo and make an inference based on the images and captions. They will record their responses on the handouts provided as they walk around the room with their clipboards / personal white boards. They should not debate about the photos with each other until after the lesson. All answers should be original and students should not be asking each other for their opinions on the pictures until they finish the carousel.
THIS IS A SILENT ACTIVITY.
The goal is for students to make an educated guess about what is happening (or what will happen) based on what they see, what they’ve read and what they know or have personally experienced. Ultimately, they should read between the lines and expand upon the storyline provided. Students should avoid repeating the caption in their responses, but that doesn’t necessarily make their responses incorrect. The Possible Responses provided on the following pages will give you a better idea of the more acceptable inferences.
STEP 3:
Individually call on students to begin the Inference Carousel. For example, the first student you select should start at Picture #1 (or whatever number you choose). The next student should begin at the following (or different) picture and then continue walking clockwise around the room. Students should make sure the picture they are currently looking at corresponds to the correct number on their handout. If they begin at Picture #12, they should be recording their responses on the sheet where it says “Picture #12”.
Please stress the importance of paying attention to the “Picture #” when recording their answers.
STEP 4:
Once my students were finished with the carousel, we reviewed each photo with the responses from around the room to generate a discussion about how and why they came up with their inferences. Obligating them to include the word “because” in all of their responses made it much easier for them to explain the reasoning behind their conclusions and gave room for other students to argue their opinions when they didn’t make the same inference.
***Please note that you only need to print pages 1-20 for the first lesson***
Lesson Modifications:
Inference Merry – Go – Round
An alternative to having students walk around the room would be to put their desks together in the form of a large circle. Pass out the images one at a time and have students continually circulate the pictures until everyone finished. A student should never have more than one picture at their desk at once. This is another reason why it is very important for them to pay close attention to the “Picture #s”. Please note that you can conduct the lesson in the very same way, the only difference is that the students remain seated.
- 1 clipboard, white board or solid, portable surface for each student to write on
- Tape, Velcro or a similar device to post the images around the classroom
- 15 pieces of colored construction paper (optional)
STEP 1:
Before the students enter the class, post the 15 pictures clockwise around the room in numerical order. I would recommend being creative with where you are placing the pictures. Don’t make it TOO easy for the students to find them. Place some on the floor, windows, behind doors, on the sides of shelves, etc. I would also suggest placing a sheet of colored construction paper on the back of each picture so that it will stand out from the other papers you have throughout the classroom.
STEP 2:
When it’s time to begin the lesson, inform your students that you have posted several pictures throughout the room and explain that their job is to review each photo and make an inference based on the images and captions. They will record their responses on the handouts provided as they walk around the room with their clipboards / personal white boards. They should not debate about the photos with each other until after the lesson. All answers should be original and students should not be asking each other for their opinions on the pictures until they finish the carousel.
THIS IS A SILENT ACTIVITY.
The goal is for students to make an educated guess about what is happening (or what will happen) based on what they see, what they’ve read and what they know or have personally experienced. Ultimately, they should read between the lines and expand upon the storyline provided. Students should avoid repeating the caption in their responses, but that doesn’t necessarily make their responses incorrect. The Possible Responses provided on the following pages will give you a better idea of the more acceptable inferences.
STEP 3:
Individually call on students to begin the Inference Carousel. For example, the first student you select should start at Picture #1 (or whatever number you choose). The next student should begin at the following (or different) picture and then continue walking clockwise around the room. Students should make sure the picture they are currently looking at corresponds to the correct number on their handout. If they begin at Picture #12, they should be recording their responses on the sheet where it says “Picture #12”.
Please stress the importance of paying attention to the “Picture #” when recording their answers.
STEP 4:
Once my students were finished with the carousel, we reviewed each photo with the responses from around the room to generate a discussion about how and why they came up with their inferences. Obligating them to include the word “because” in all of their responses made it much easier for them to explain the reasoning behind their conclusions and gave room for other students to argue their opinions when they didn’t make the same inference.
***Please note that you only need to print pages 1-20 for the first lesson***
Lesson Modifications:
Inference Merry – Go – Round
An alternative to having students walk around the room would be to put their desks together in the form of a large circle. Pass out the images one at a time and have students continually circulate the pictures until everyone finished. A student should never have more than one picture at their desk at once. This is another reason why it is very important for them to pay close attention to the “Picture #s”. Please note that you can conduct the lesson in the very same way, the only difference is that the students remain seated.
